Project results
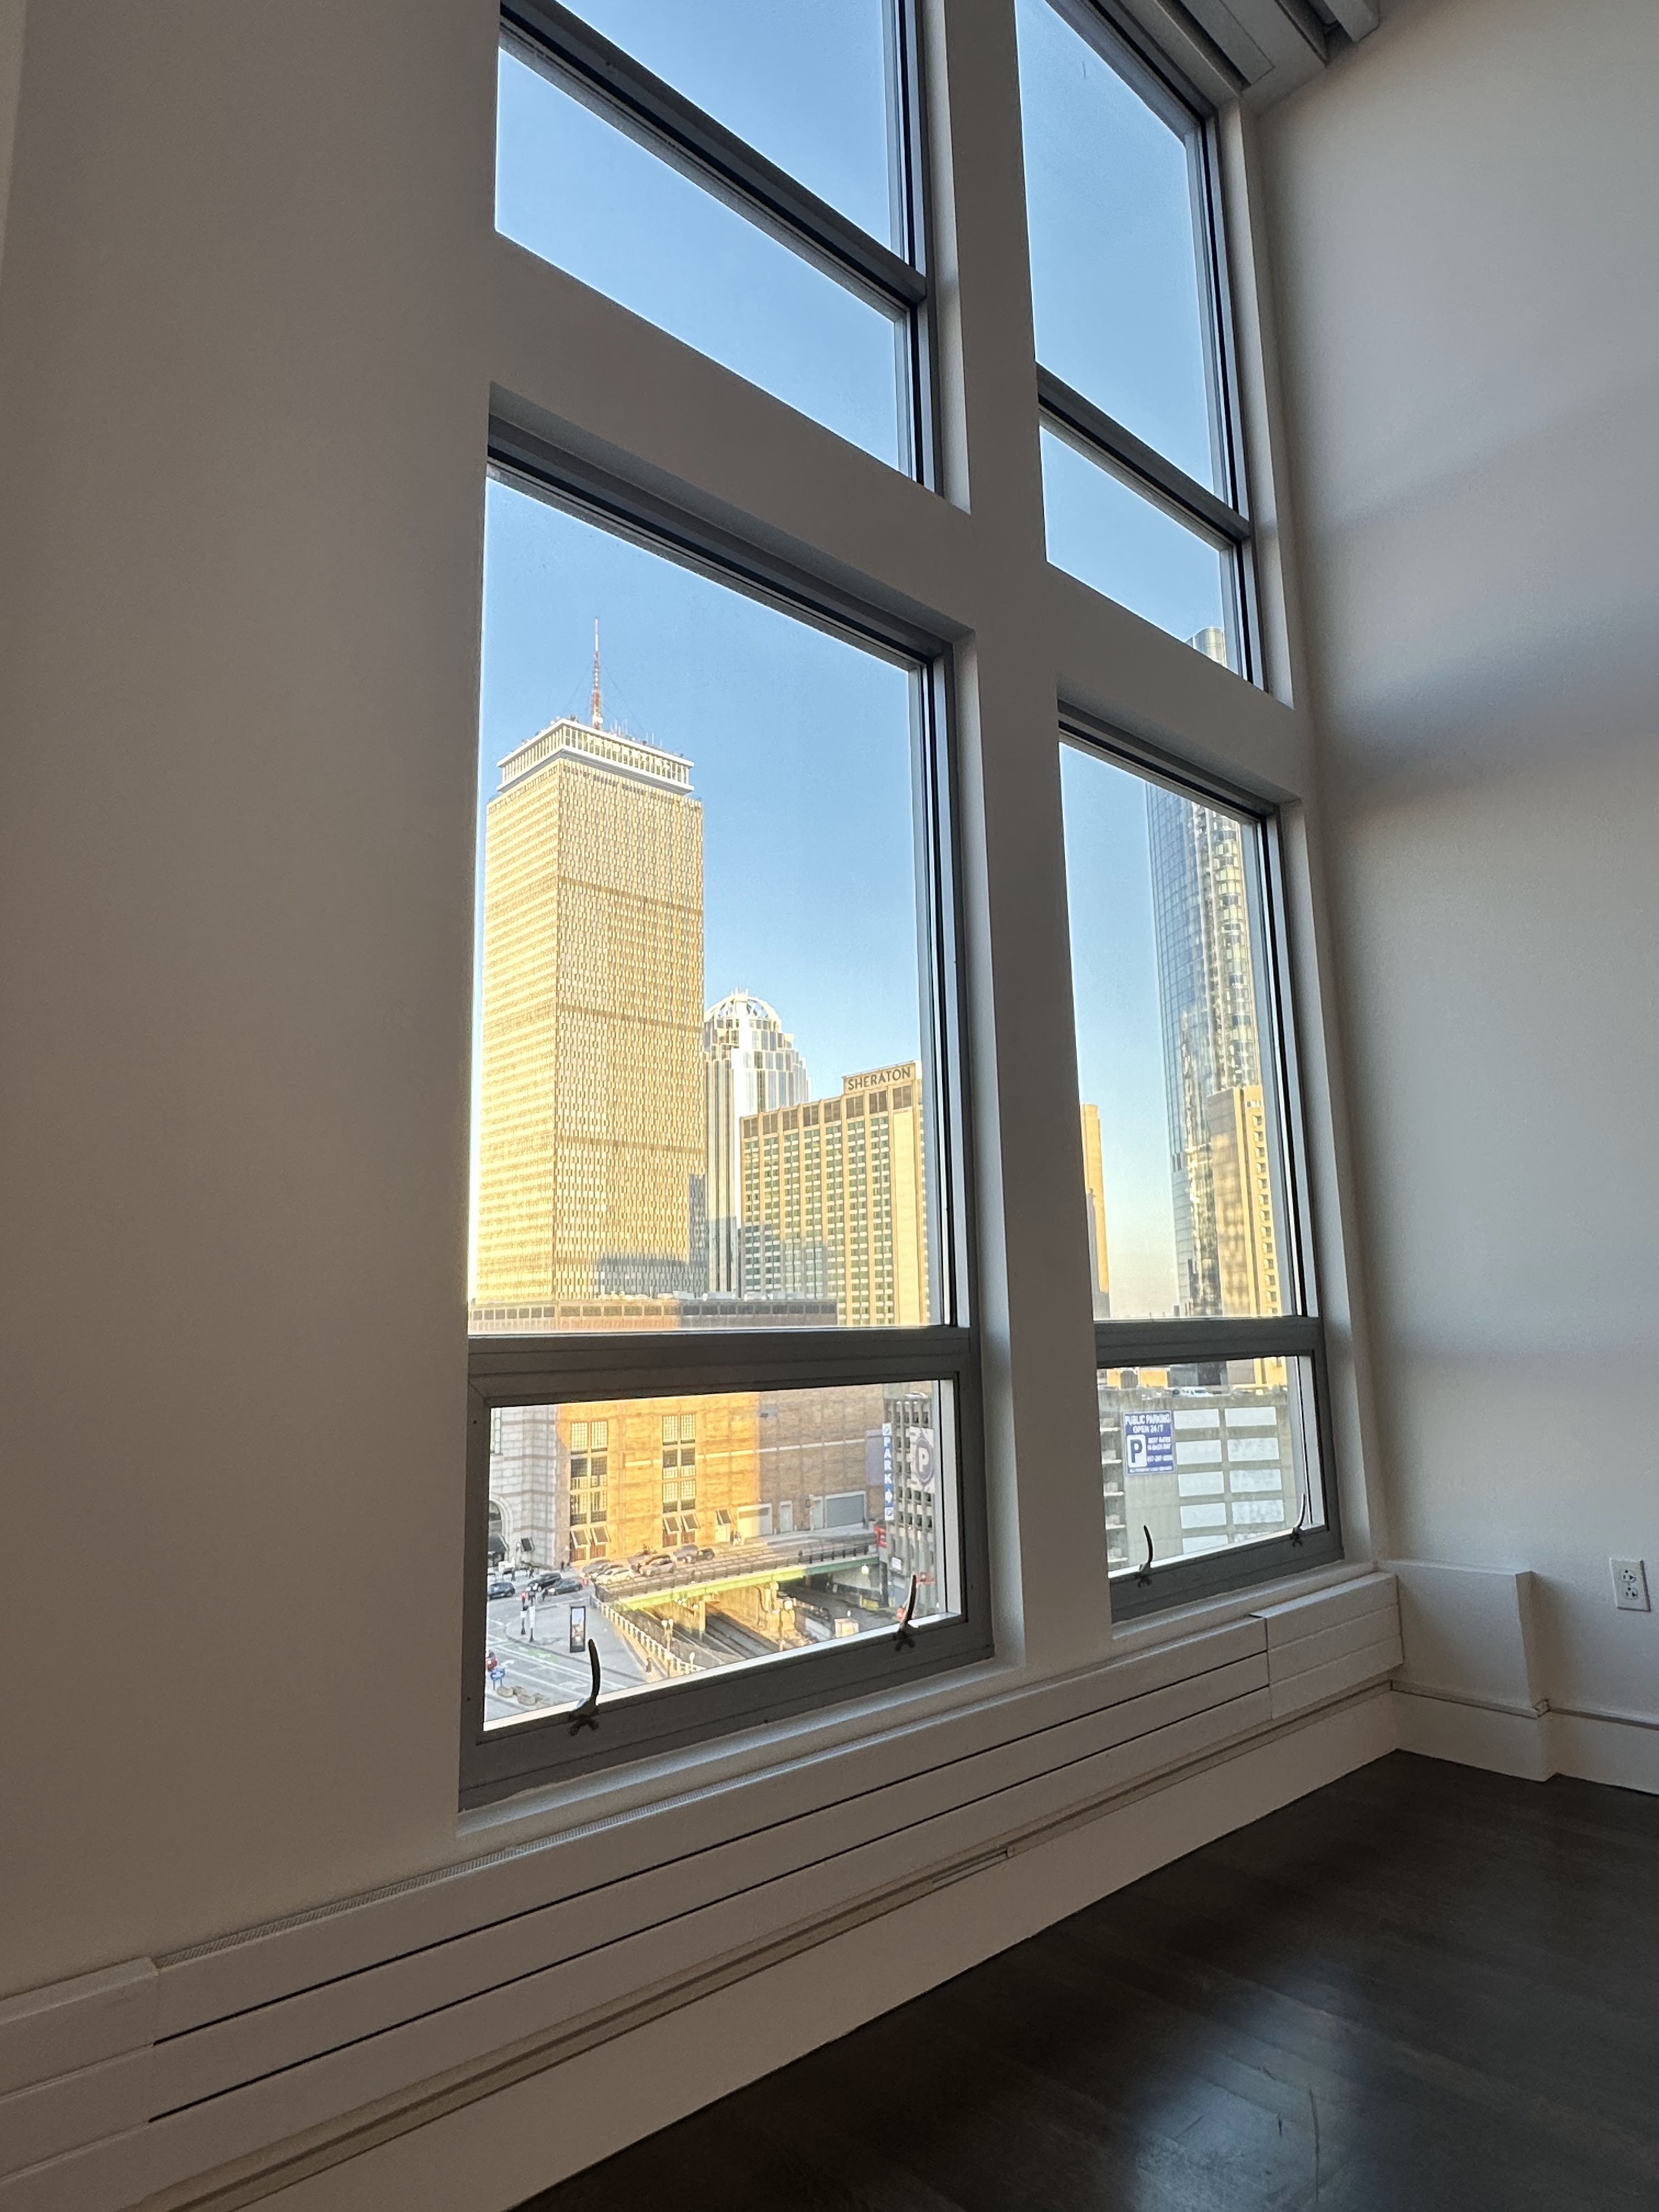
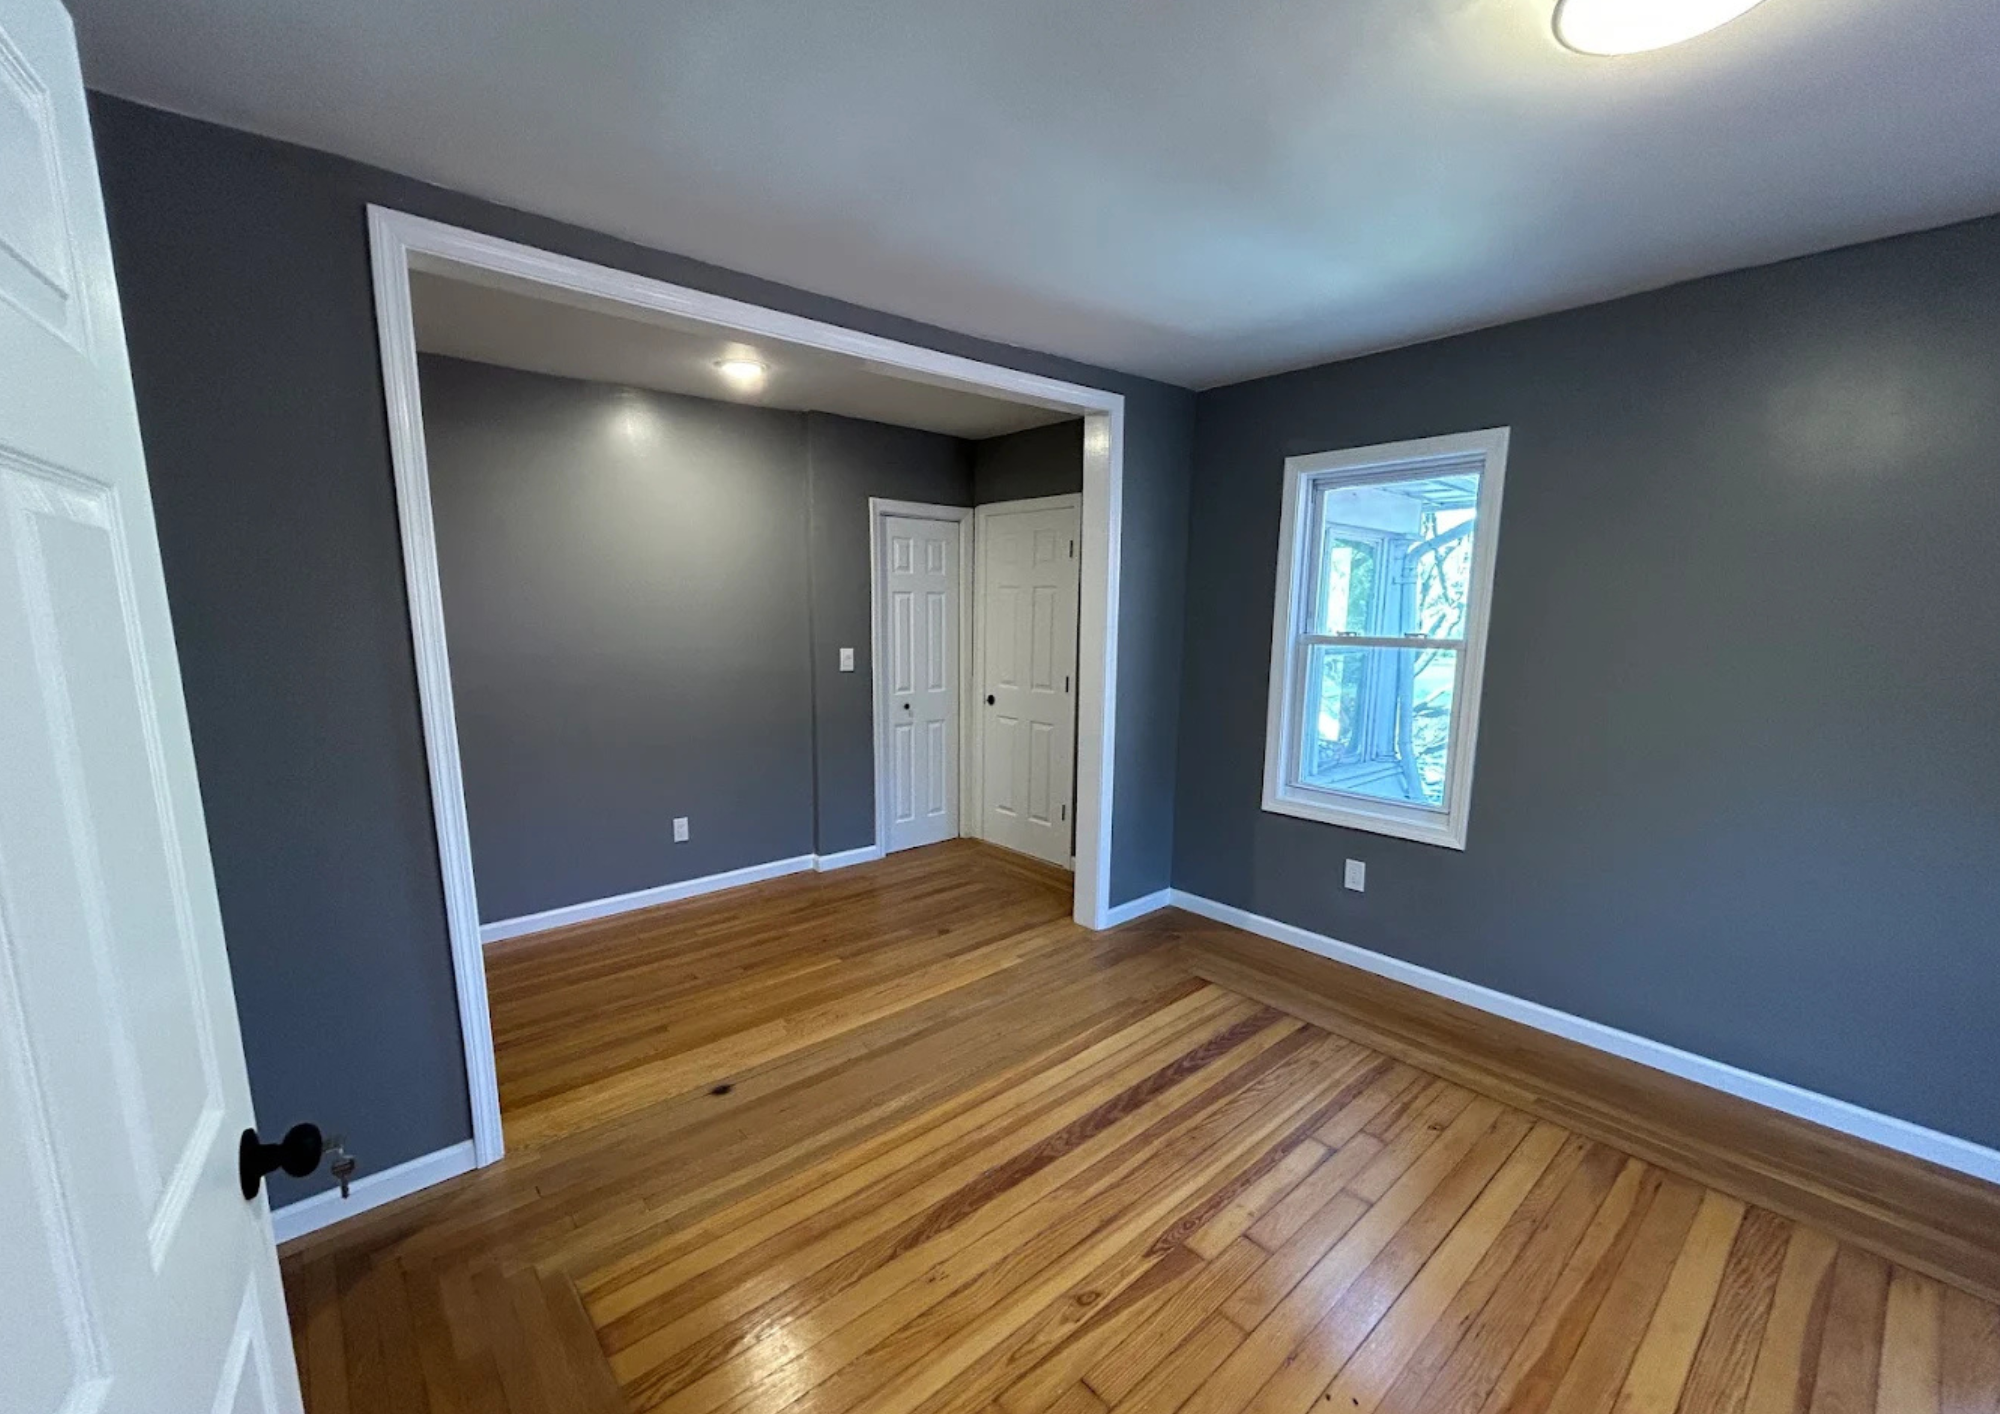
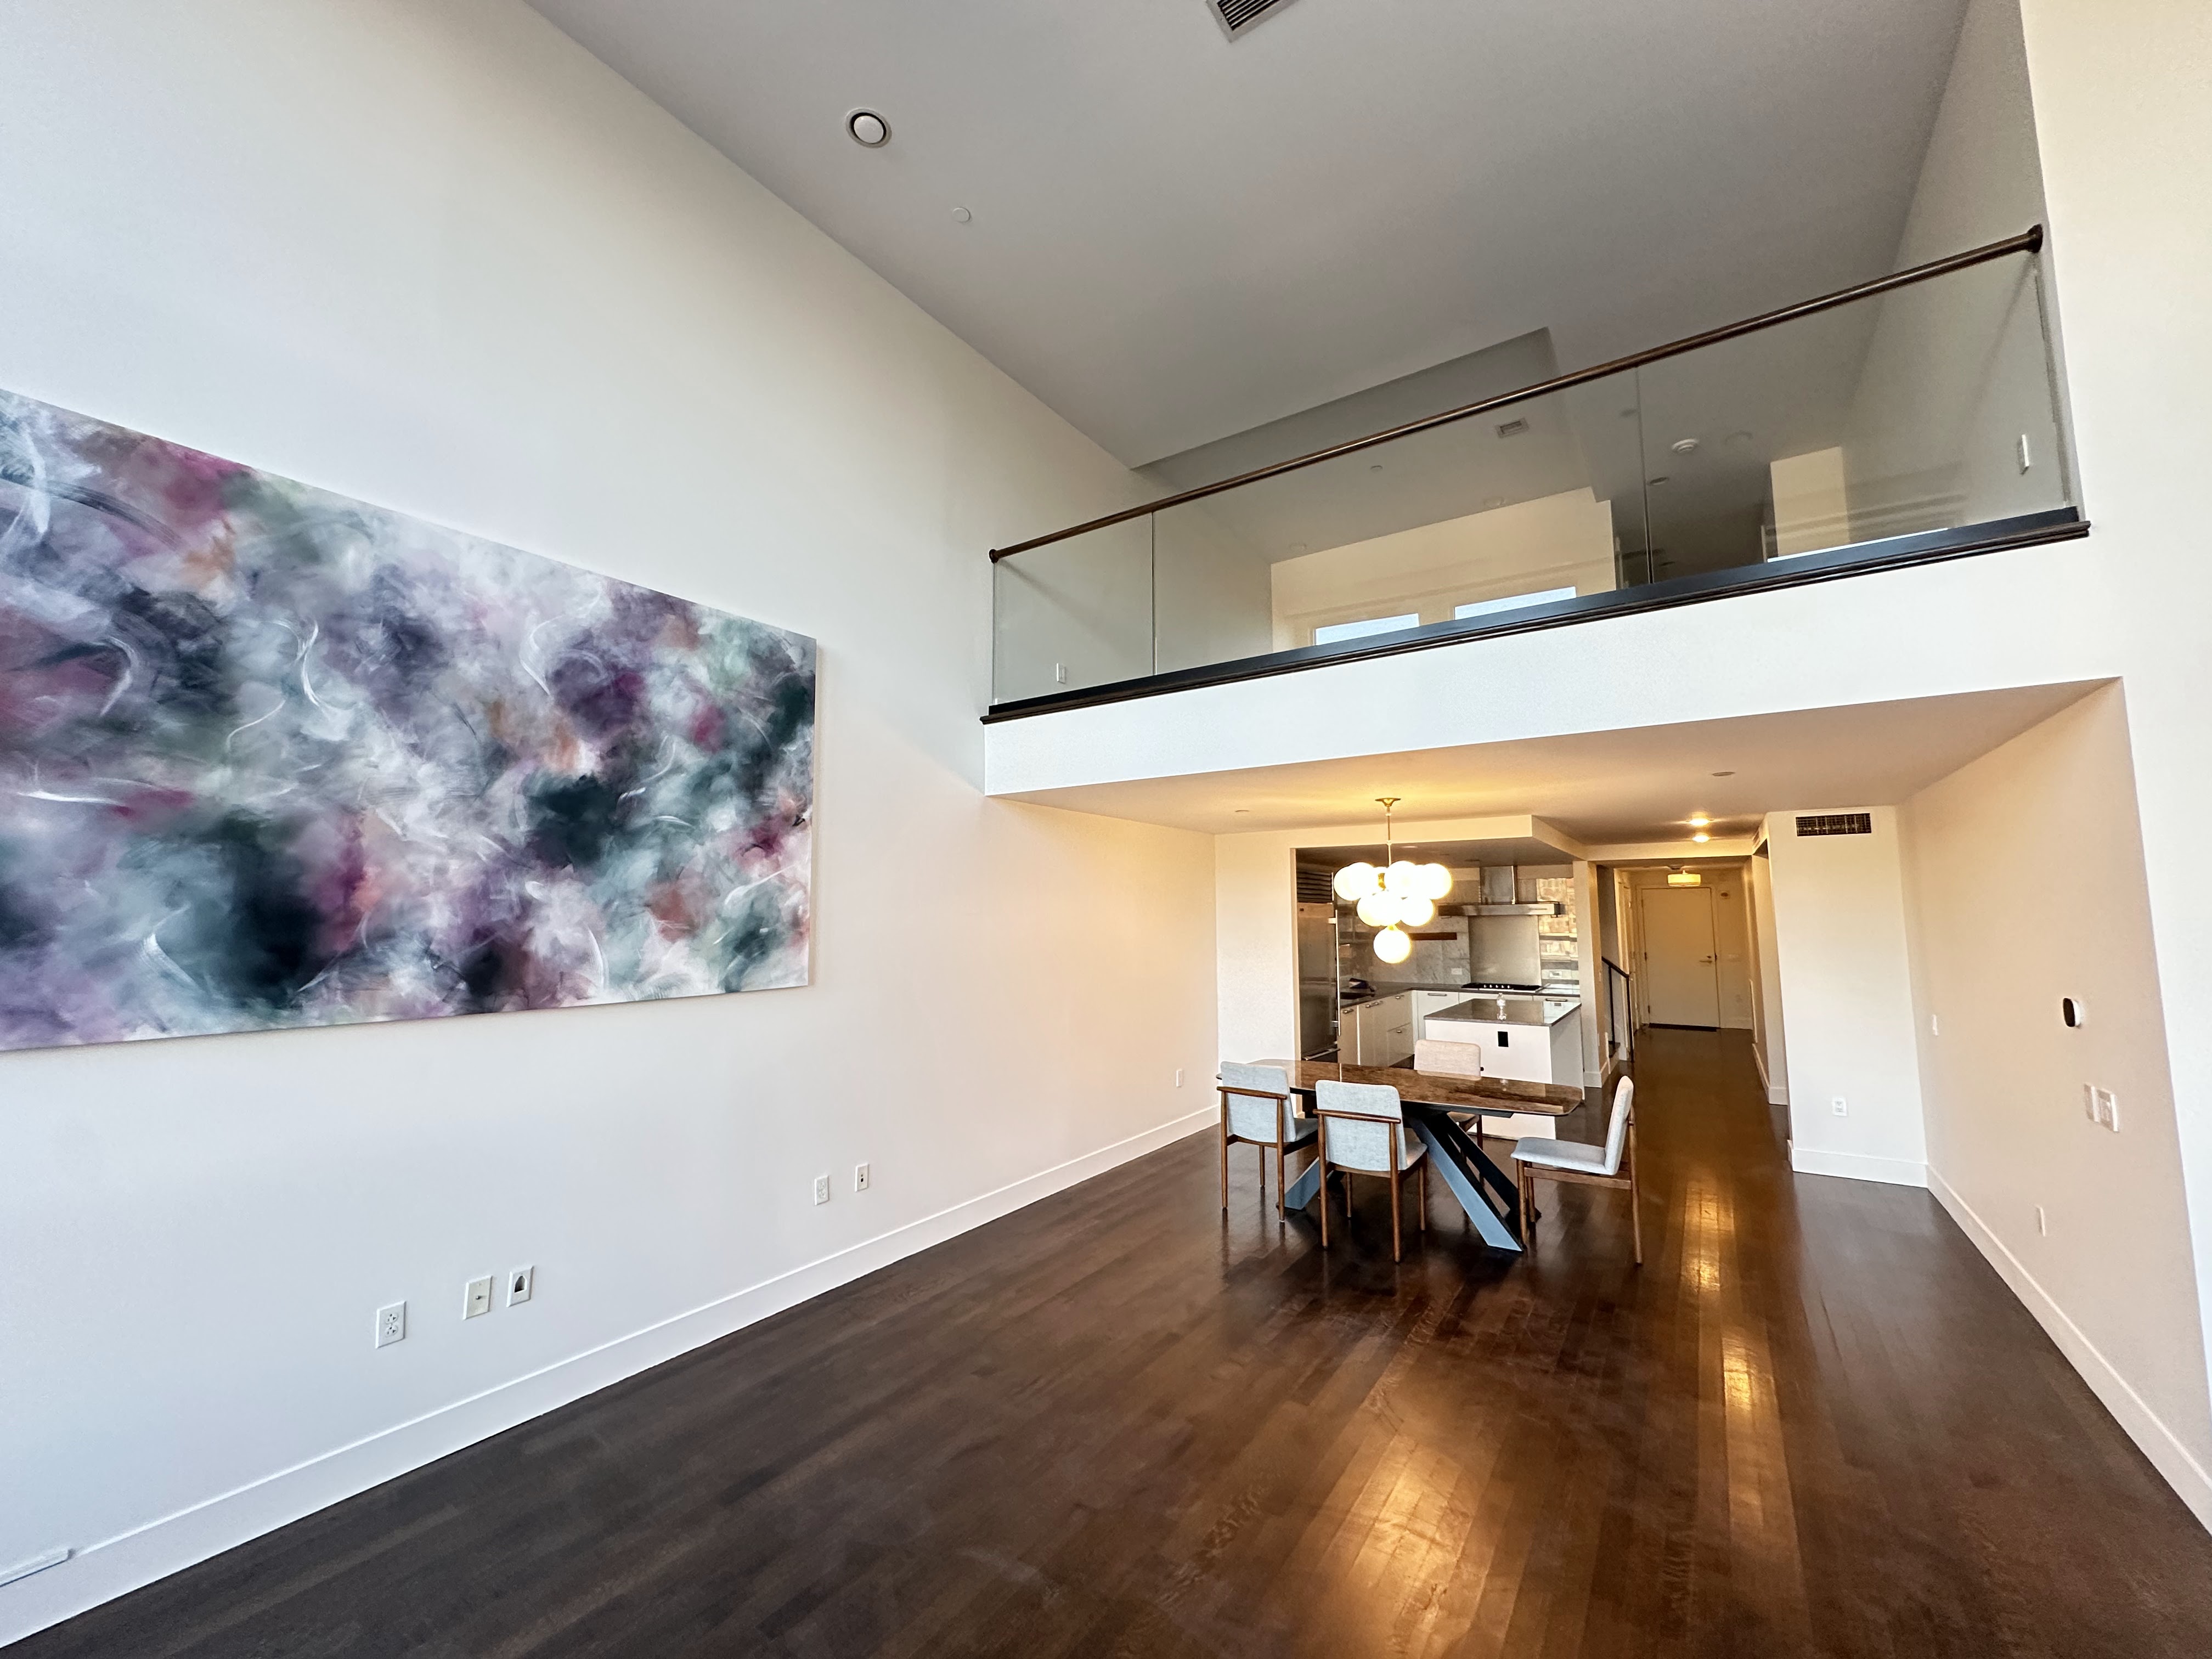
Recent Interior House Painting Projects
Explore examples of interior painting projects including walls, ceilings, trim, doors, and room repaints completed across Massachusetts.


Our interior painting process
Prep-First Workflow for a Cleaner Interior Paint Finish
Great interior house painting starts with prep. Here’s the process we use to protect your home and deliver a crisp, durable finish.
Clean & Surface Prep
Patch, Caulk & Sand
Prime (As Needed)
Final Sand & Dust Removal
Paint Walls, Ceilings & Trim
Detail & Final Walkthrough
Why interior painting projects need a prep-first process
Clean lines and smooth walls come from prep discipline. Protection, repairs, sanding, and proper priming matter as much as the final color.
Step 01
Protect & Prep Space
We start by protecting floors, furniture, and nearby surfaces so your home stays clean while we work room by room.
What we do
- Cover floors and furniture
- Mask trim, fixtures, and non-painted surfaces
- Set up a clean and efficient work path
Why it matters
- Keeps the jobsite clean and safe
- Protects belongings and finished surfaces
- Helps maintain a professional workflow
Quality check
- Protection installed before sanding and painting
- Edges and fixtures masked correctly
- Room is ready for surface prep
Step 02
Clean & Surface Prep
Interior paint performs better on clean surfaces. We remove dust, residue, and loose material before repairs and paint begin.
What we do
- Clean dusty or marked surfaces
- Scrape loose paint where needed
- Prep problem spots before patching
Why it matters
- Improves adhesion and finish quality
- Reduces peeling and flashing issues
- Creates a stronger base for repairs
Quality check
- Loose material removed
- Surface is stable and paint-ready
- Prep complete before patch and caulk stage
Step 03
Patch, Caulk & Sand
We patch nail holes, dents, and cracks, then caulk gaps and sand surfaces so the finished paint looks cleaner and more uniform.
What we do
- Patch holes and minor wall damage
- Caulk trim gaps and seams
- Sand patched and rough areas smooth
Why it matters
- Paint highlights defects if prep is skipped
- Smoother walls give a better final look
- Caulk improves lines at trim and corners
Quality check
- Patches are flush and dry
- Caulk lines are clean and consistent
- Surface feels smooth before primer and paint
Step 04
Prime (As Needed)
We prime repairs, stains, or full surfaces when needed to improve coverage, block bleed-through, and create a more even finish.
What we do
- Spot-prime patched areas and stains
- Use stain-blocking primer when needed
- Prime full walls or trim on major color changes
Why it matters
- Improves paint adhesion and uniformity
- Helps prevent flashing and bleed-through
- Reduces extra topcoat work
Quality check
- Primer coverage is even on target areas
- Dry time respected before paint
- Surface is ready for final sanding and wipe down
Step 05
Final Sand & Dust Removal
Before finish coats, we do a final refinement pass to smooth transitions and remove dust so the paint lays down cleaner.
What we do
- Light sanding on repaired and primed spots
- Feather edges for a seamless blend
- Vacuum and wipe down dust before painting
Why it matters
- Helps reduce texture differences
- Improves final sheen consistency
- Prevents dust nibs in the finish
Quality check
- Surface is smooth to the touch
- No visible dust before coating
- Ready for finish paint application
Step 06
Paint Walls, Ceilings & Trim
We apply premium interior coatings with the right finish for each surface, keeping clean lines and consistent coverage throughout the room.
What we do
- Cut in and roll walls and ceilings cleanly
- Paint trim, baseboards, and doors as scoped
- Apply coats with proper dry and recoat timing
Typical finish planning
- Walls: matte, eggshell, or satin
- Ceilings: flat in most rooms
- Trim and doors: satin or semi-gloss
Quality check
- Uniform color and sheen
- Sharp lines at trim and corners
- Coverage verified before final touch-ups
Step 07
Detail & Final Walkthrough
We complete final touch-ups, remove protection, and walk the project with you to confirm everything looks right before we close the job.
What we do
- Touch-up pass where needed
- Remove masking and clean the work area
- Review completed rooms with the client
Why it matters
- Finishing details make the result feel premium
- Confirms scope is complete
- Leaves the home clean and ready to use
Quality check
- Final visual inspection completed
- Touch-ups addressed before closeout
- Care and curing guidance reviewed
Paint System / Best For
Interior House Painting System
For interior walls, ceilings, trim, and doors, we use a prep-first painting system focused on clean surfaces, smooth repairs, and durable topcoats that hold up to everyday living.
It’s ideal for occupied homes because we protect your space, control dust, and keep the job organized while delivering sharp cut lines and a clean finished look.
Best For
Walls, ceilings, trim, doors, bedrooms, living rooms, hallways, and stairwells
Typical System
Protection, repairs, sanding, primer as needed, and premium interior paint
Finish Options
Flat, matte, eggshell, satin, and semi-gloss depending on room and surface
What’s Included
Interior Painting Scope
- Floor and furniture protection with masking
- Wall prep, patching, and minor drywall repairs
- Caulking and sanding for smoother surfaces
- Spot priming or full priming where needed
- Walls and ceilings painting
- Trim, baseboards, and doors painting
- Final walkthrough and touch-up pass
Finish planning
Choosing the Right Interior Paint Finish
The best finish depends on the room, lighting, traffic, and how easy you want it to be to clean. We help you choose the right sheen for each surface.
Interior Paint Care Tips
- Allow full cure time before aggressive cleaning
- Use a soft cloth or sponge for maintenance cleaning
- Avoid harsh chemicals on fresh paint
- Keep touch-up paint labeled by room and color
Pro Tip: Different sheens clean differently. We’ll guide you on what to use in high-traffic areas like hallways, kitchens, and kids’ rooms.
Flat / Matte
Great for ceilings and low-traffic walls. Helps hide surface imperfections with a softer look.
Eggshell / Satin
Popular for most walls. Balanced sheen, easier cleaning, and a clean modern finish.
Semi-Gloss Trim
Ideal for trim, baseboards, and doors where durability and easier wipe-downs matter.
Client feedback
“The rooms feel brand new. The lines are super clean, the walls look smooth, and the crew kept everything covered and organized from start to finish.”
100%
Prep-first interior workflow
MA
Massachusetts service area
FAQ
Interior House Painting Questions
Answers to common questions about interior painting, prep, finishes, and scheduling.
Yes. We typically move and protect furniture as part of our prep process. We also cover floors and nearby surfaces before sanding or painting starts.
Yes. Minor patching, caulking, and surface prep are part of most interior painting jobs. If there is larger drywall damage, we can review the scope during the estimate.
Absolutely. We can help you choose colors and sheens based on lighting, room use, and how much durability and washability you need.
It depends on the number of rooms, prep needs, and drying times. During your estimate, we’ll give you a clear timeline and daily plan for the project.
Ready to refresh your interior?
Get a quote for interior house painting and we’ll help you plan the right prep and finish system for your home.